 Post by
Attic water damage repair has two jobs, and they need to happen in order. First stop the water and make the space safe. Then dry, remove and replace what the water ruined, and fix the roof, vent or pipe that let it in. If you repair the insulation but skip the source, the damage returns with the next storm. This guide walks through both jobs, from the first hour to long-term prevention.
TL;DR
- Stop or redirect the water first, keep people out of the wet area, and treat wet wiring as a shock hazard until it is checked.
- Photograph everything before you move or remove anything. Your insurer will want the record.
- Dry porous materials within 24 to 48 hours. Soaked blown-in insulation is rarely worth saving, and damaged roof sheathing needs replacing.
- Published estimates for attic water damage restoration run from about $300 to $8,000, and the roof repair that fixes the source is usually billed separately.
- Seal air leaks from the house into the attic before you add ventilation, or the moisture problem can come back.
Table of Contents
- What to do in the first hour
- Finding where the water is coming from
- How to dry an attic safely
- What to replace and what to keep
- The repair sequence, start to finish
- How much attic water damage repair costs
- Will insurance cover it?
- Preventing attic water damage from coming back
- Getting the roof side handled
- FAQ
- Sources
What to do in the first hour
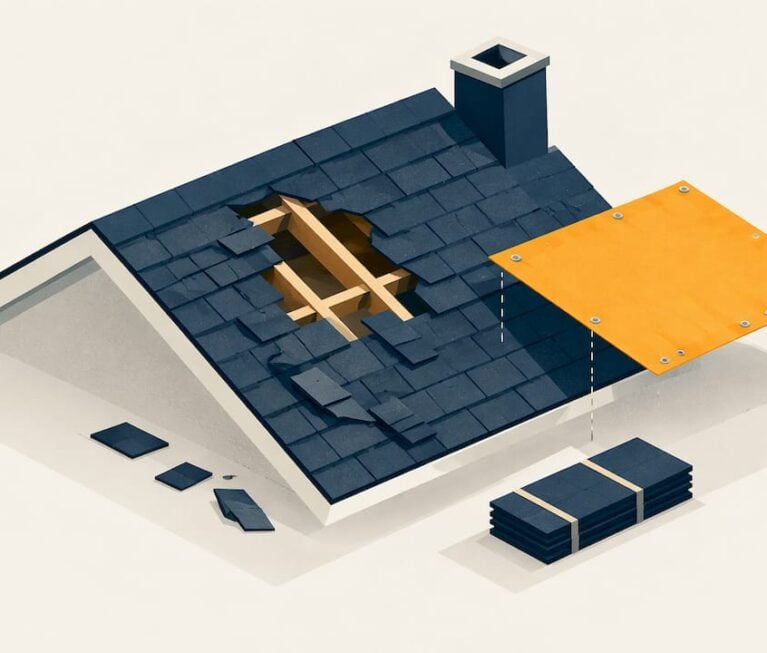
The immediate priorities are containing the water, keeping people safe and documenting the damage. Massachusetts state guidance on water damage response says to identify and reduce or eliminate the water source first. That might mean shutting off a plumbing line, redirecting water, or catching infiltration with tarps or buckets.
Then work through this short list:
- Move people away from the wet area. Stay out of the attic if you see sagging drywall or a bulging ceiling below it, or if there is wetness near electrical fixtures.
- Think about electricity. The National Institutes of Health advises that wet wiring, fixtures and outlets are shock hazards. Keep the power off in the affected area until an electrician or building inspector has checked it. If wiring is wet, shut off the breaker.
- Catch the drips. Place buckets under active leaks and puncture a ceiling bulge only if you can do it safely and in a controlled way. If the ceiling looks ready to give way, stay clear and call a professional.
- Document before you touch anything. Take photos and video of wet insulation, staining and ceiling damage from several angles, as restoration guidance on attic damage recommends.
- Call a roofer if rain or storm damage is the cause. A temporary cover can limit further entry while a permanent repair is scheduled.
If the leak came from a bathroom or other plumbing, this guide to ceiling leak first steps covers the same stop-the-water logic from the room below.
Finding where the water is coming from
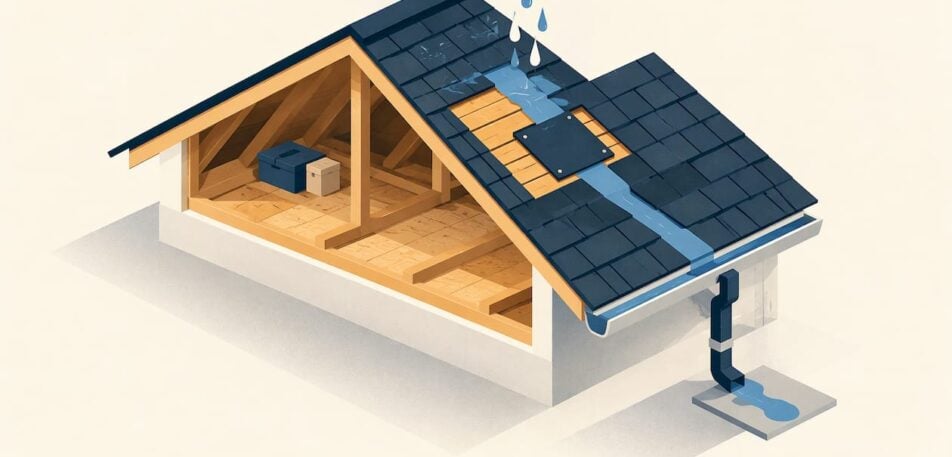
The stain on the ceiling rarely sits right under the hole in the roof. University of Wisconsin Extension guidance on leaky roofs notes that leaks are rarely directly above the ceiling stain. It also warns against risking injury on the roof itself: use binoculars for an exterior look, then check the attic for a drip trail.
A careful attic inspection follows the method in a Canadian government home-maintenance guide. Locate the leak from below, then enter the attic with a flashlight and tape measure, lift the insulation to find pooled water, and trace it back to roof penetrations. The usual suspects are:
- Chimneys and the flashing around them
- Plumbing vent stacks and their rubber boots
- Attic vents and roof vents
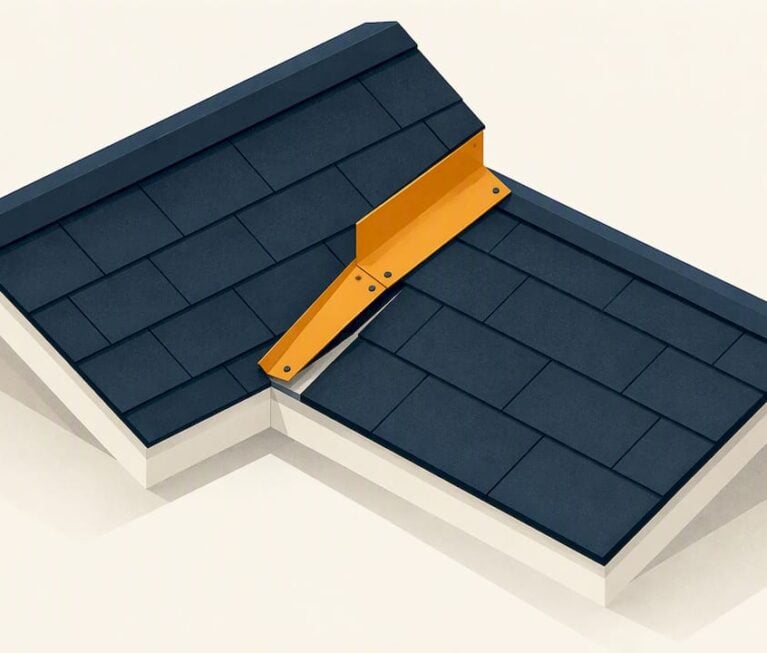
- Valleys and transitions where two roof planes meet
- Damaged, lifted or missing shingles, tiles or metal panels
Not every wet attic is a roof leak. Warm, moist indoor air that rises into a cold attic condenses on the underside of the roof deck, which looks a lot like a leak. Frost on nails in winter, dark staining in a pattern on the sheathing, and damp insulation without any clear drip trail all point to condensation. We cover that in the prevention section.
Our own pages on signs of roofing leaks and damage and on why a small roof leak should never be ignored help you recognize early warning signs from inside and outside the house.
How to dry an attic safely
Speed matters. After the source is dealt with, dry materials promptly with large fans, dehumidifiers and heat. The same Massachusetts guidance cites EPA and ACGIH recommendations to dry porous materials within 24 to 48 hours. Past that window, mold growth becomes a realistic concern.
Nashville’s disaster-response guidance says drying should start at the attic, because water travels downward. In practice:
- Remove water-soaked stored items and boxes.
- Remove wet insulation and dispose of it properly.
- Open windows and vents for air circulation.
- Run an attic fan only if you know the electrical system is safe.
Bring in a professional for black water (sewage or contaminated water) or larger flooding. Professionals also verify drying with moisture readings. The industry S500 standard calls for comparing readings against undamaged areas of the same structure, so you know the wood is actually dry and not just dry on the surface.
What to replace and what to keep
Not everything that got wet has to go. The U.S. Department of Energy’s roof and ceiling repair guide recommends discarding soaked fiberglass or cellulose insulation, letting framing dry unless it is obviously damaged or warped, and replacing localized damaged sheathing with panels of the same thickness. It also advises consulting a professional engineer if structural integrity is in question.
| Material | Typical outcome | Notes |
|---|---|---|
| Blown-in cellulose or fiberglass | Usually replaced | Rarely salvageable once soaked |
| Batt insulation | Sometimes dried in place | Only if caught within 24 to 48 hours |
| Roof sheathing (decking) | Replace if soft, delaminated or stained through | Match the thickness of the original panels |
| Rafters and framing | Often dry and stay | Replace or reinforce if warped or visibly rotted |
| Drywall ceiling below | Replace if sagging or stained through | Check for hidden moisture first |
Prolonged wetness can rot sheathing, so a leak that has dripped for months deserves a closer look at the decking than one from last week’s storm. Press a screwdriver into suspect wood. If it sinks in easily, it needs replacing.
The repair sequence, start to finish
A sound attic water damage repair follows a consistent order, whether you hire one contractor or several trades:
- Fix the source. Replace damaged shingles, tile or metal panels, reseal flashing around vents and chimneys, or repair the pipe or duct. This is the roofer’s job in most storm and leak cases.
- Remove wet materials. Insulation and any soft or delaminated sheathing come out first.
- Dry the structure and confirm it with moisture readings.
- Treat or remove mold if growth has started. Larger areas call for a remediation specialist.
- Rebuild. Replace sheathing, add new insulation to the correct depth, and repair the ceiling below.
- Inspect. Check the repair after the next heavy rain, not only on a dry day.
On the roof side, this is where we come in. Our roof repair services cover leak detection, storm and wind damage restoration, shingle, tile or metal panel replacement, and flashing and sealant repair around vents and chimneys.
How much attic water damage repair costs
The honest answer is a wide range, because the cost depends on how much water, how long it sat, and what it touched. One restoration guide puts typical attic water damage restoration at roughly $300 to $8,000, with jobs involving structural framing or extensive insulation replacement running higher. Treat that as a ballpark, not a quote.
What moves the number:
- Size of the affected area. A single wet patch is a different job than an entire attic floor.
- Insulation type and depth. Removing and replacing blown-in insulation across a large attic takes labor and disposal.
- Structural damage. Replacing sheathing or framing adds materials and carpentry.
- Mold. Testing and remediation add a separate line.
- Access. A cramped, hot or unfinished attic takes longer to work in.
- The source repair. Fixing the roof, vent or plumbing is typically billed on its own, by the trade that does it.
We do not publish set prices for roof repair, because the right scope depends on what an inspection finds. We give written estimates after looking at your roof, and we aim to keep them clear and accurate so you know what each line covers.
Will insurance cover it?
Often the answer depends on how the water arrived. Insurers generally distinguish between sudden, accidental loss, which is typically covered, and gradual seepage or maintenance problems, which are typically excluded, as one restoration guide to insurance claims explains. A storm that tears off shingles and lets rain in is a different claim from a flashing that has been quietly weeping for a year.
Some policies set a time threshold. Reporting suggests that some standard homeowners policies exclude seepage or leakage lasting 14 days or more. Policies differ, so read your own wording and ask your insurer directly.
A few habits make a claim easier:
- Photograph and film the damage before any cleanup.
- Keep samples or photos of removed materials, plus receipts for emergency measures.
- Report the loss promptly instead of waiting to see if it gets worse.
- Ask your roofer for a written description of the cause and the repair scope.
For questions about what your policy covers, talk to your insurance agent or adjuster. A roofer can describe the damage, but only the insurer decides coverage.
Preventing attic water damage from coming back
Once the repair is done, prevention comes down to keeping water out from above and moisture out from below.
From above: inspect the roof after major storms and once a year, and keep gutters, fascia and soffits in good shape so water drains away from the roof edge. Waterproofing at valleys and transitions, and impact-resistant shingles or metal roofing where storms are severe, reduce the odds of a repeat. Our roof upgrades include these options, along with ventilation and attic insulation improvements.
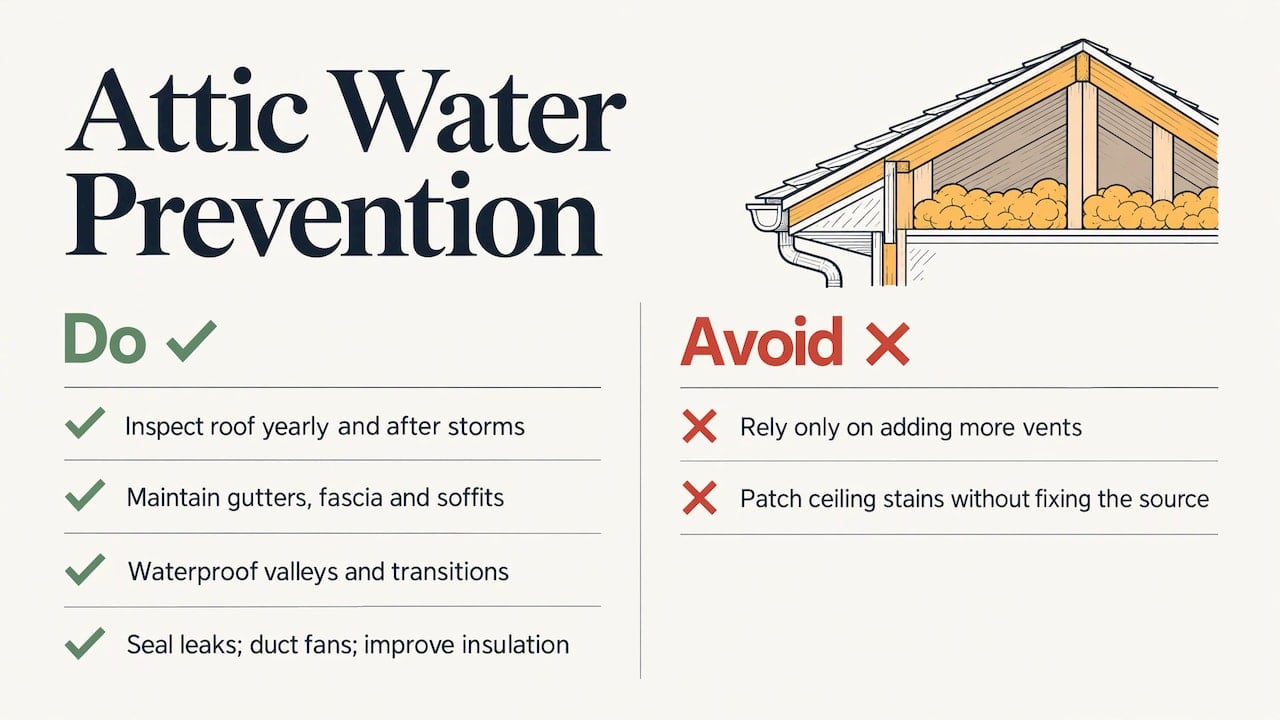
From below: Canadian government housing guidance recommends sealing air leaks into the attic, ducting bathroom fans outdoors, and providing sufficient insulation. A second publication from the same agency adds that condensation is often misdiagnosed. Adding ventilation is not the main fix; sealing bypasses such as wiring penetrations and light fixtures stops warm, moist air from reaching the attic. It also notes that attic ventilation is nominally sized at 1:300, and that a properly sealed attic may need no additional ventilation.
Relying only on more vents can backfire by drawing more moist house air up into the attic, the agency warns. That is why a good inspection looks at air sealing and insulation together with the roof.
Our perspective
After years of working on roofs in Florida and Missouri, we see the same pattern. Homeowners treat the stain on the ceiling as the problem, patch it, and discover the next storm has reopened it. The stain is a symptom. The repair that lasts starts at the roof, with a clear look at flashing, penetrations, valleys and the condition of the materials.
We believe the right order is source first, then dry-out, then rebuild. That is why we focus on honest, accurate estimates and plain communication about what we find. You should know whether you need a flashing reseal, a section of new decking, or a larger conversation about upgrading the roof.
Our crews are licensed and insured, and we build for the weather that actually hits your region, whether that is hurricane-driven rain or Midwest storms. A roof that is built and maintained for that weather protects the attic underneath it.
the author
Getting the roof side handled
If your attic damage started at the roof, we can inspect it, find the entry point and repair it. GenX Roofing handles roof repair, upgrades, replacement and preventative maintenance for homes and commercial properties in Florida and Missouri. Our inspection and maintenance plans help catch small problems before they reach the attic.

Start with our roofing services overview, or go straight to emergency leak detection and repair. For a general look at how a repair is scoped, our guide to roof leak repair is a good next step.
FAQ
How long can wet attic insulation stay in place?
Porous materials should be dried within 24 to 48 hours. Batt insulation may be dried in place if you catch it in that window, but blown-in cellulose and fiberglass are rarely salvageable once soaked. If it has been wet longer, plan on replacing it and checking the decking for mold.
How do I tell if attic water damage is permanent?
Press on the wood with a screwdriver. Soft, crumbling, delaminated or warped sheathing needs replacing, while solid wood that has dried fully can often stay. If you suspect framing damage, have a roofer or a structural engineer look at it.
Who fixes attic water damage, a roofer or a restoration company?
Usually both play a role. A restoration company dries and repairs the attic itself, while the roofer, plumber or HVAC technician fixes the source. If the cause is the roof, start with a roofer so the repair does not get soaked again.
Will homeowners insurance pay for attic water damage?
It often covers sudden and accidental loss, such as storm damage, and typically excludes gradual seepage or neglected maintenance. Your policy wording decides, so document the damage, report it promptly and ask your insurer what applies to your claim.
Sources
- Quick reference: water damage response in buildings, Mass.gov
- Instructions for remediating moisture in the first 48 hours, NIH
- Attic water damage: causes, cost and what to do
- Assessing and repairing leaky roofs, University of Wisconsin Extension
- About your house, Canada Mortgage and Housing Corporation
- About your house, attic condensation, CMHC
- Tips for drying out a water damaged building, Nashville.gov
- Water damage restoration guide
- Repairing roofs and ceilings, U.S. Department of Energy
- Homeowners insurance: gradual vs sudden water damage claims
- Ceiling leak from bathroom: what to do first
Recommended
- How to Recognize the Signs of Roof Damage Before It’s Too Late
- Recognize These Common Roofing Problems to Avoid Damage
- Don’t Overlook These 7 Signs of Roofing Leaks and Damage
- Keep Your Roof in Top Condition: Expert Roof Maintenance Tips